


How to Disassemble AirPods Case
24 Feb 2022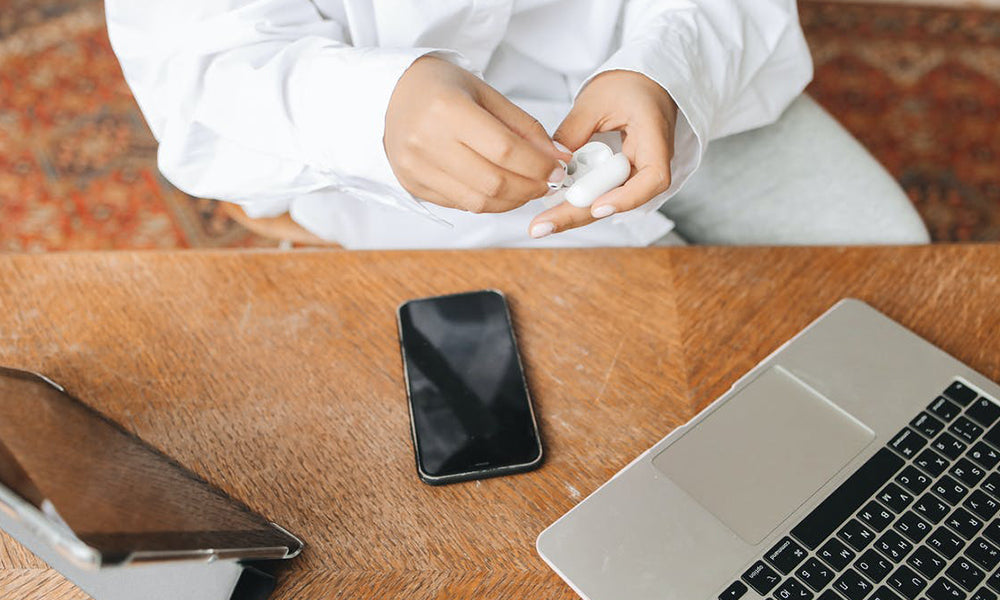
How to disassemble AirPods case is how nightmares for people who do tech repair start. Apple AirPods are well known for use of excessive glue and low repairability scores. The only thing harder than taking AirPods apart is putting AirPods back together.
Because of all the adhesive, opening AirPods without ruining them is almost impossible. Major damage is unavoidable. If your AirPods or AirPods Pro break, the only real option is a replacement. This is, of course, hard on your wallet and also the environment.
Not all hope is lost for broken AirPods. They are a favorite for many earphone users. Apple offers repair and replacement services for all its customers. There is Apple’s One Year Warranty and AppleCare+ for accidental damage.
All that aside, nothing is ever really completely secret to the public. Especially a popular and much loved AirPod case design. So here we have it, how to disassemble an AirPods case. We’ll be covering AirPods, AirPods 3, and AirPods Pro.
How to Disassemble AirPods Case
It can be difficult to fix an AirPod case at home. Maybe your AirPod case won’t close or you want to know what happens when you drop an AirPod case. Whatever the reason, disassembling AirPod cases are one of few ways to fix a broken AirPod case.
Learning how to disassemble your AirPods case allows you to see inside the case. Now you can change the battery without having to replace the whole case. You can dry a circuit board that has corroded from water damage.
Whatever the reason, a little word of caution. AirPod cases do get damaged when you disassemble them and might never work the same again. There will be scratches and deep divots from the tools used to pop them open. Luckily, some of the AirPod case scratches can be fixed.
For AirPods 3 and AirPods Pro, we’ll also be warping the case to crack the adhesive. Beware of the problems that might follow from disassembling your AirPod case.
Now, for the tools that you will need.
Tools for How to Disassemble AirPods Case
To disassemble an AirPods case will need a couple of tools. For some, you can find alternatives at home,
- Spudger or a similar prying tool
- Heat gun (a hairdryer or heating pad can work in a pinch)
- Small vice
- Thin tip tweezers
- Rubbing alcohol/ Isopropyl alcohol
- Pliers
- Any tools that are thin and strong, that can be used to slip in tight spots
Have you have gathered all your supplies? Then move on to our step-by-step guide on how to disassemble your AirPods case below. Good luck.
Step 1
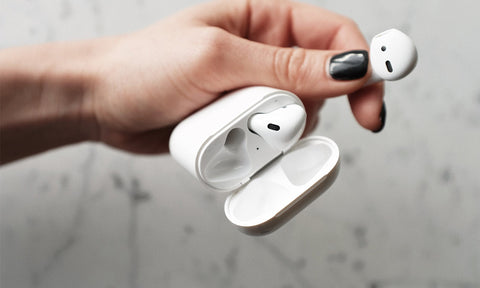
Open your AirPods case lid and behold the beauty of your AirPods. You might want to take them out for the next part. There are 2 fixed points on the left and right sides of the case that need to be propped open.
With your spudger or pry tool, wedge the edge into the case seam. When you have wedged the edge in, work it around the rim of the AirPods case to loosen it.
If the case will not open enough for the tool, use a vice and clamp the sides on the AirPod case. Slowly tighten the vice until the case has warped enough for a pry tool to get in. Wriggle it around until the case loosens.
Step 2
Loosen the edge of the case enough to allow the thin tip tweezers to fit in the front of the case. This will be where you usually open the case. Wedge the thin tip tweezers in and use the edge as leverage to lift the AirPods dock out.
If your goal is to minimize damage, you can make a small shielding plate. Wedge the shielding plate in with the thin tip tweezers. Rest the tweezers on this shield plate when you leverage the dock out to protect the plastic rim of the case.
Step 3
When the AirPod dock has popped up a bit, use your tools to lift from the left and right sides. Be careful not to damage the connector cable that comes out. Disconnect these from the AirPod dock.
Step 4
Inside the case, you will see your AirPods battery glued to the AirPod case. Take a little bit of isopropyl alcohol and drip it where the battery is attached to the charging case. This will dissolve and loosen the adhesive. Use your prying tool and separate the battery from the back of the charging case.

Step 5
As you pry the battery away from the case wall, you will see that there is a connector cable from the battery to the case. With your thin tip tweezers, disconnect the cable from the charging case and take out the battery. When you lift away the battery, the connector cable will still be attached to the battery.
Step 6
To remove the AirPods lid, use the heat gun on the section that attaches the lid to the case. Or keep a heating pad on the back of the case. The heat gun/heating pad will loosen the adhesive keeping the two together. After about 20 seconds, use your pliers to pry the lid off.
The lid is on tight and this step will need some strength. Don’t be afraid to really get in there. This is, of course, not the way to fix an AirPod case lid.
Step 7
To take out the last inner frame, heat the case with the heat gun. Wriggle it loose all along the seam of the inner frame with the tweezers and prying tool. Use some alcohol to loosen the adhesive and pull with your pliers until the inner frame comes out.
Reapply heat and alcohol as needed to loosen the adhesive until the inner frame pulls out.
This inner frame will expose the logic board and charging port. If you own a wireless charging case, there will also be a fragile wire coil on the back wall of the case.
You should now have all the separated components of an AirPods case. Once everything is exposed, you finally get to behold the wonders of technology. It’s crazy how much tech can be put into such a small space.
This is how corroded logic boards are fixed but there are better, less destructive ways to fix an AirPod case that got wet.
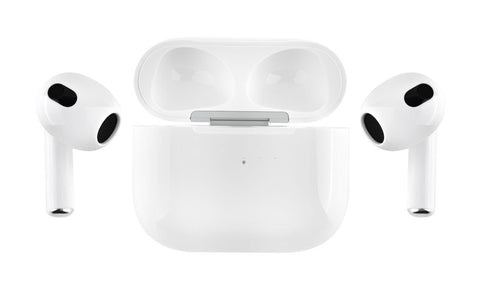
Disassemble AirPods 3 or AirPods Pro Case
Disassembling AirPods 3 or AirPods Pro case follow largely the same steps as AirPods 2. The tools for disassembling them will also be the same. There are some small differences that we’ll show you how to deal with during our step-by-step guide.
Step 1
To get to the inside of AirPods 3 and AirPods Pro require a bit more force than with AirPods. Using the vice, clamp the AirPods case on the left and right sides and slowly increase the pressure. Do this until the case starts to warp.
This breaks through the adhesive and pops open on the seam of the case.
Step 2
Wedge your spudger in the space that opened from the warping. Jimmy the spudger around the seam, loosening the edges. To minimize damage, use/create a small shielding plate.
Step 3
When there is enough space, use the thin tip tweezers and spudger to leverage up the bundle until it comes out. If need be, leave a heating pack on the case. This will help loosen the adhesive and make the plastic a little more malleable.
Don’t do this for too long. Heat can be dangerous near batteries and cause permanent damage.
Step 4
Lift the inside of the case out until the bottom connector cables are visible. With thin tip tweezers, disconnect the connector cables from the logic board bundle. The bundle is a black frame with batteries glued to the side and a logic board lodged between them.
The AirPod earphone holder can be disconnected and lifted from the black frame. The only thing left in the case tethered to the back wall will be a fragile wire coil. This coil allows AirPods 3 and AirPods Pro to have wireless charging.
You should now have a disassembled AirPod 3 or AirPod Pro.
Conclusion
And that’s how to disassemble an AirPod case. Not exactly easy but it’s done. It’s always handy to know how certain things are built and how to fix them, if possible. Like fixing a loose AirPod case.
AirPods aren’t exactly known for their repairability but do make up for it in sheer quality. For those parts that have died and gone beyond, there are replacement options available. For issues like dead batteries or waterlogged logic boards, knowing how to disassemble your AirPod case can be the last and only option.
Prevention is the best cure and that’s where we come in to protect your AirPod cases. Our AirPod cases support wireless charging, have 360-degree protection, and sport high-quality prints. These glossy prints never fade.
But what makes the deal even sweeter is our custom phone cases. Yes, custom. You’re in control and get to match your phone case to your aesthetic.
Did you find our blog helpful? Then consider checking:
- How to Clean AirPods Case
- How to Clean AirPods Pro Case
- How to Clean AirPod Case Magnets
- How to Charge AirPods Case
- How to Know if AirPod Case Is Charging
- How to Take AirPods Out of Case
- How to Reset AirPod Case
- How to Connect New AirPod to Case
- How to Turn off AirPods Case
- How to Connect Two Different AirPods to One Case
- How To Connect AirPods When Case Is Dead
- How to Put a AirPod Case on
- Why Is My AirPod Case Flashing Red
- How Long Does AirPod Case Battery Last
- Does AirPods Need a Case


